- Reviewed encounters
- 11 in the launch-route reference
- Campaign structure
- Five main islands
- New content
- Islet encounters are covered separately
Campaign encounter facts cover the launch route reviewed for Patch 1.0.10. This rewritten guide is not a new gameplay test. Later updates add encounters; check Fishipedia and the update archive for your installed version.
Follow the item that opens the next stage
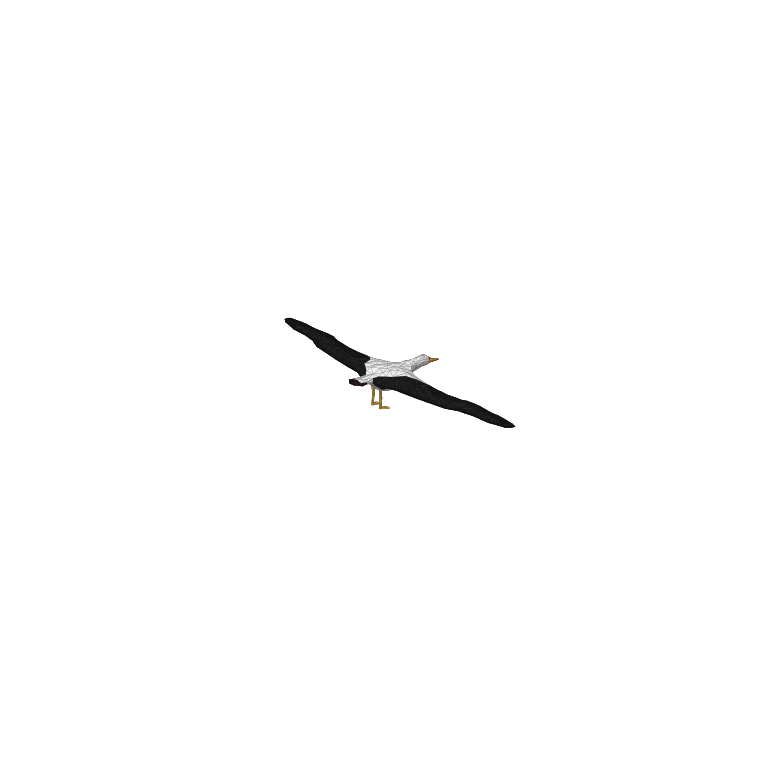
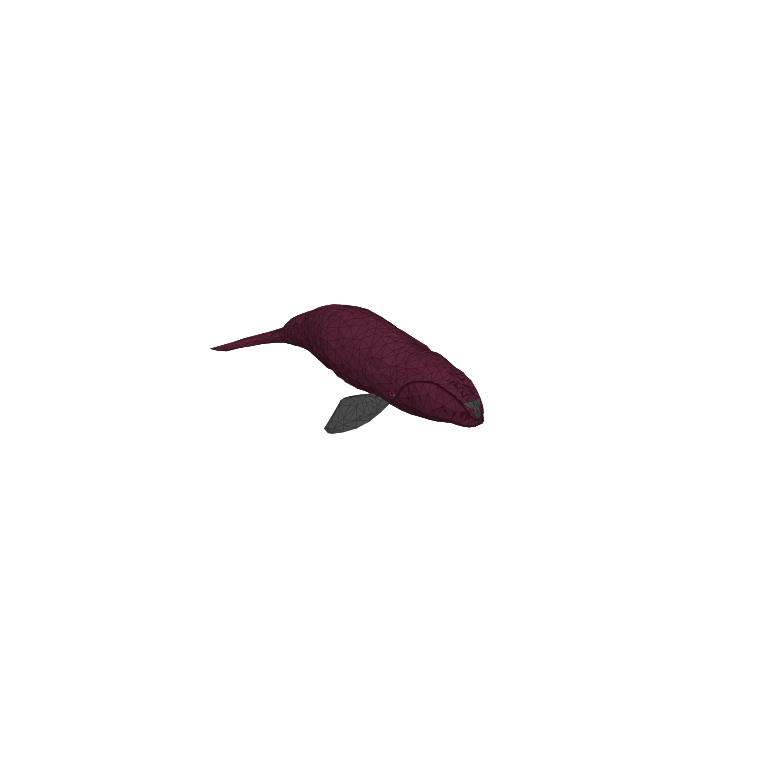
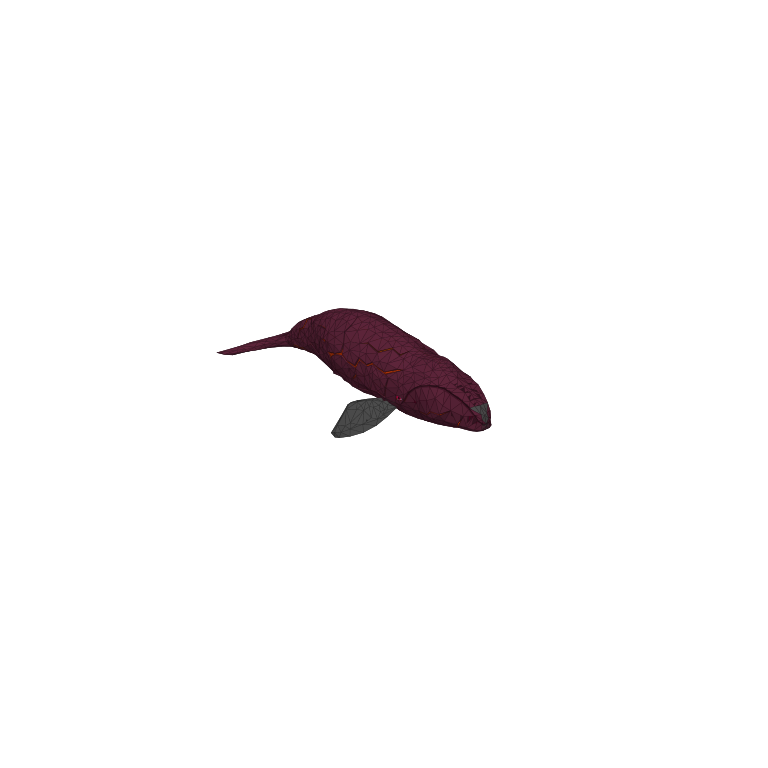
A boss result can be a quest item, bait for another encounter or an ordinary sale. Decide which job it has before doing anything with the body. The campaign includes two pairs of linked fights: Tuna leads to Albatross, and Bowhead Whale leads to the mutated final form.
| Stage | Encounter | Keep for progression |
|---|---|---|
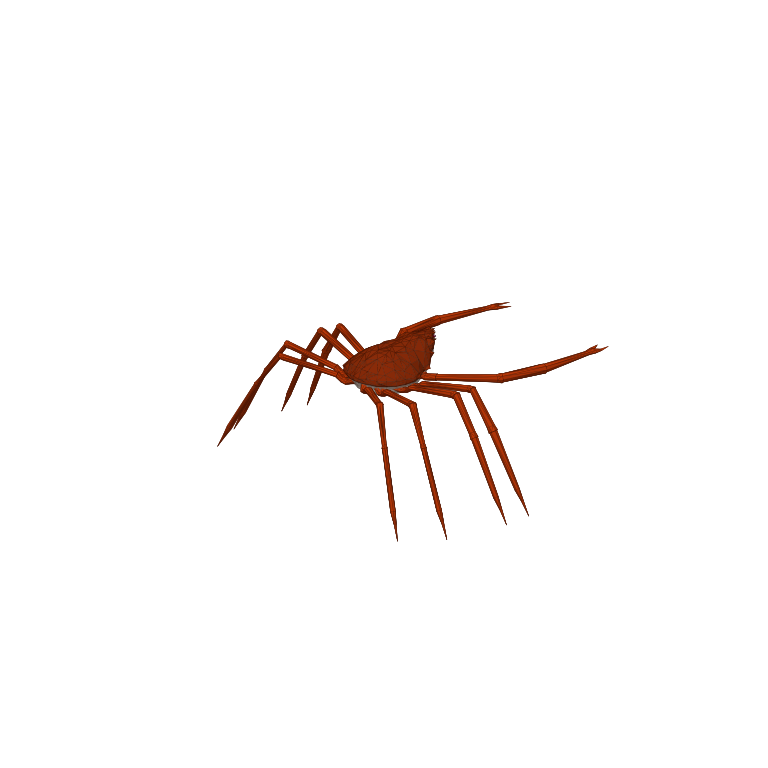
| Lighthouse | Spider Crab | Shell for the keeper’s boat-key hand-in |
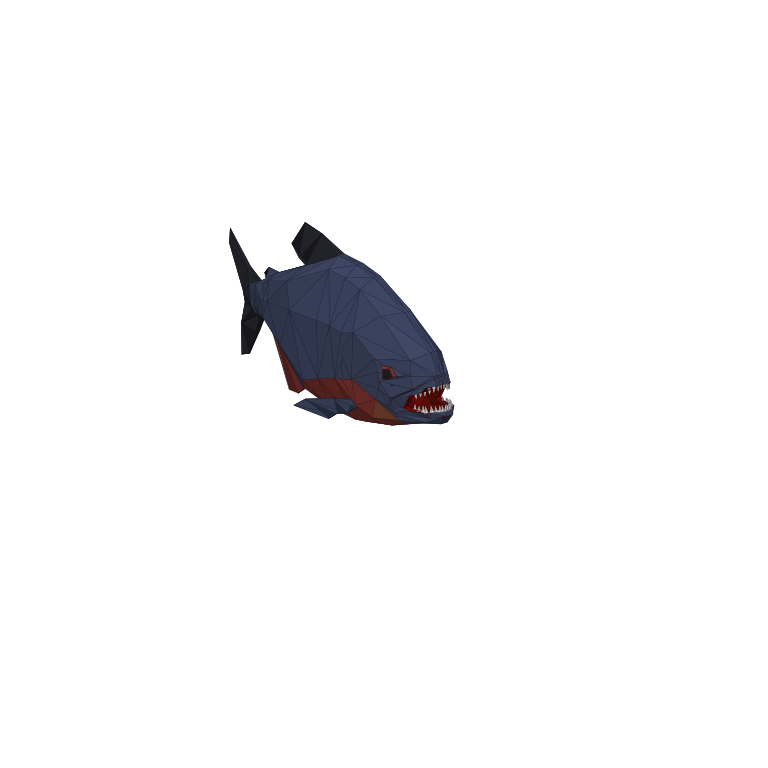
| Forest | Giant Piranha | Trophy for the next island coordinates |
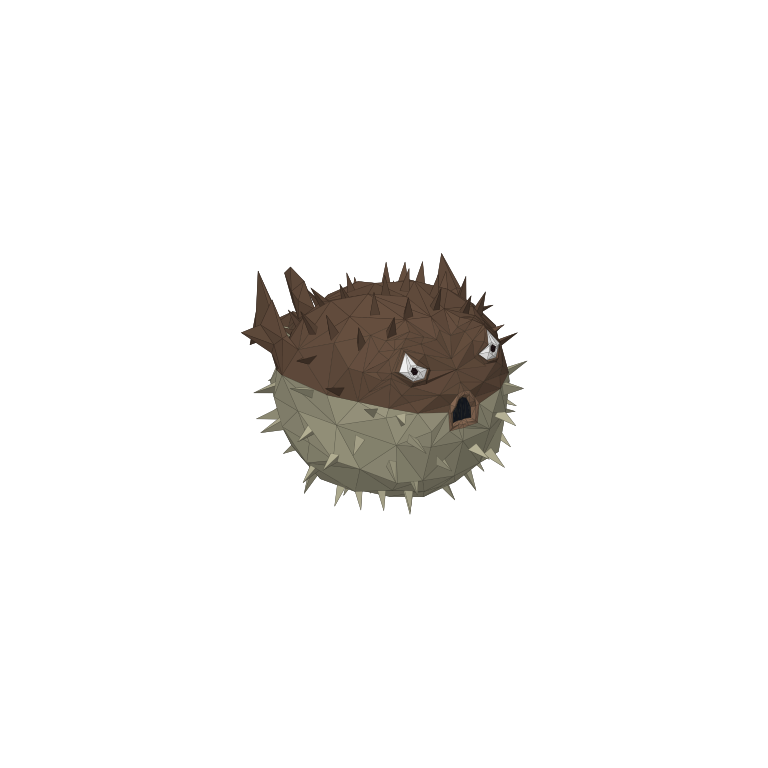
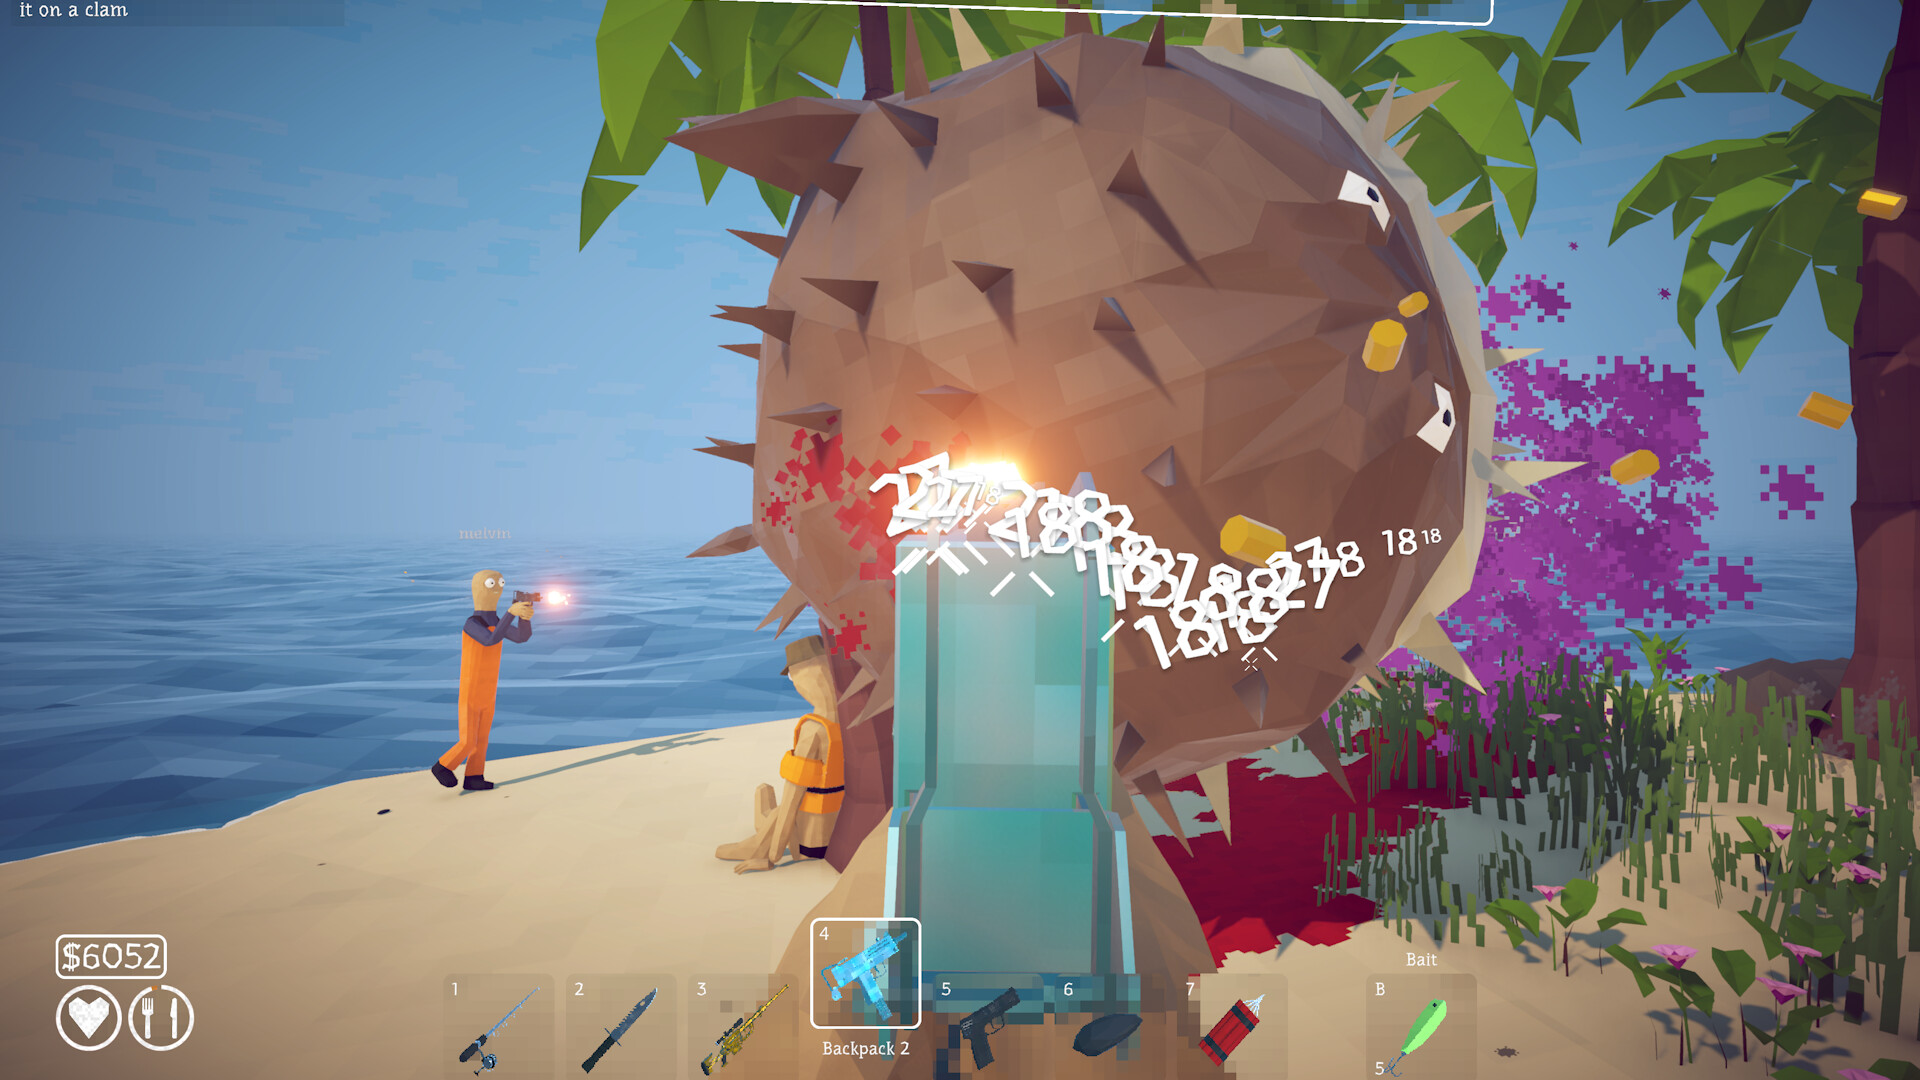
| Desert | Pufferfish | Fin for the Rocks Island hand-in |
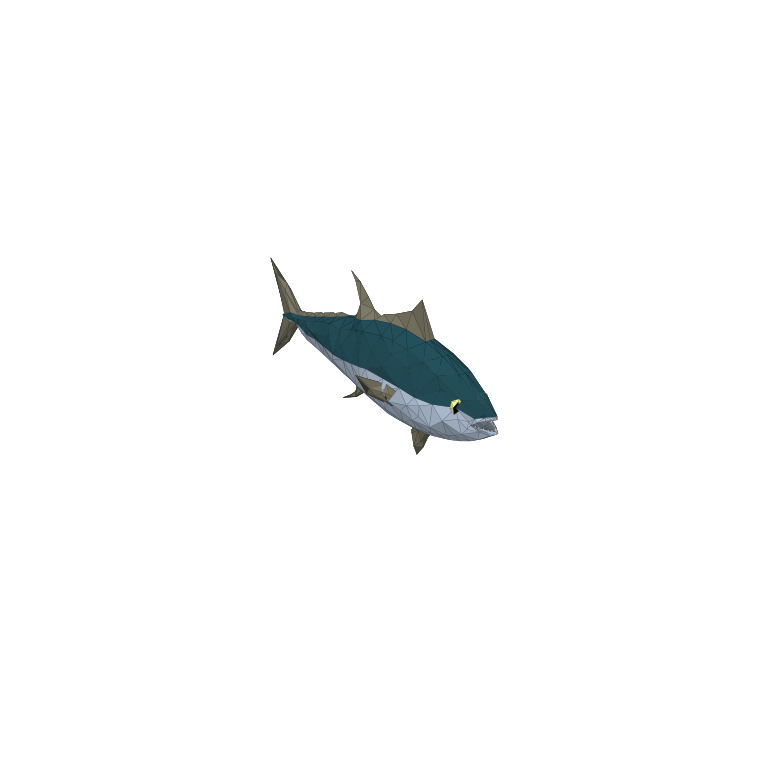
| Rocks | Tuna → Albatross | Tuna body first; Albatross head afterward |
| Volcano | Bowhead Whale → Mutated Bowhead Whale | First whale body; then complete the ending sequence |
Budget separately for optional catches
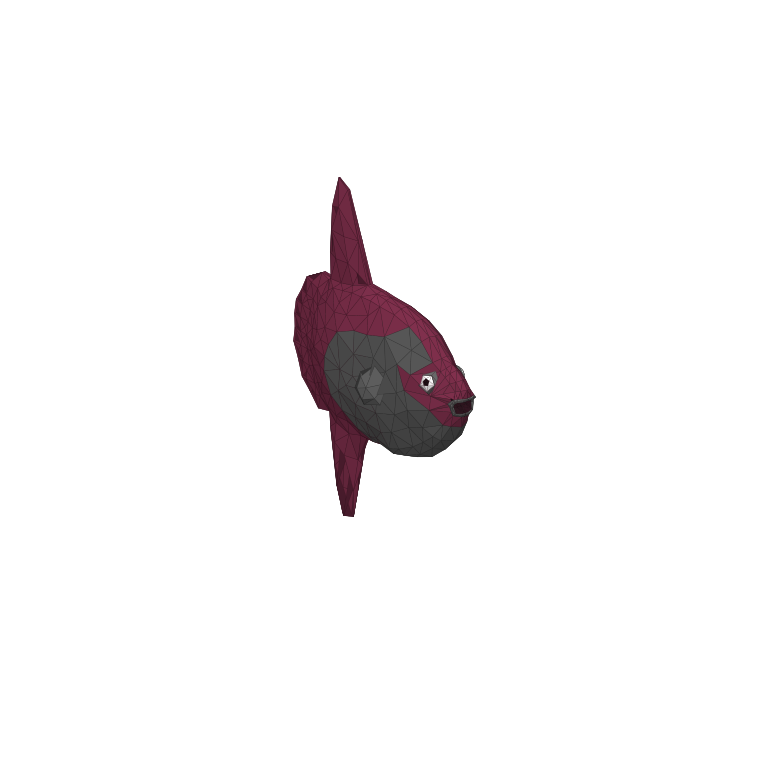
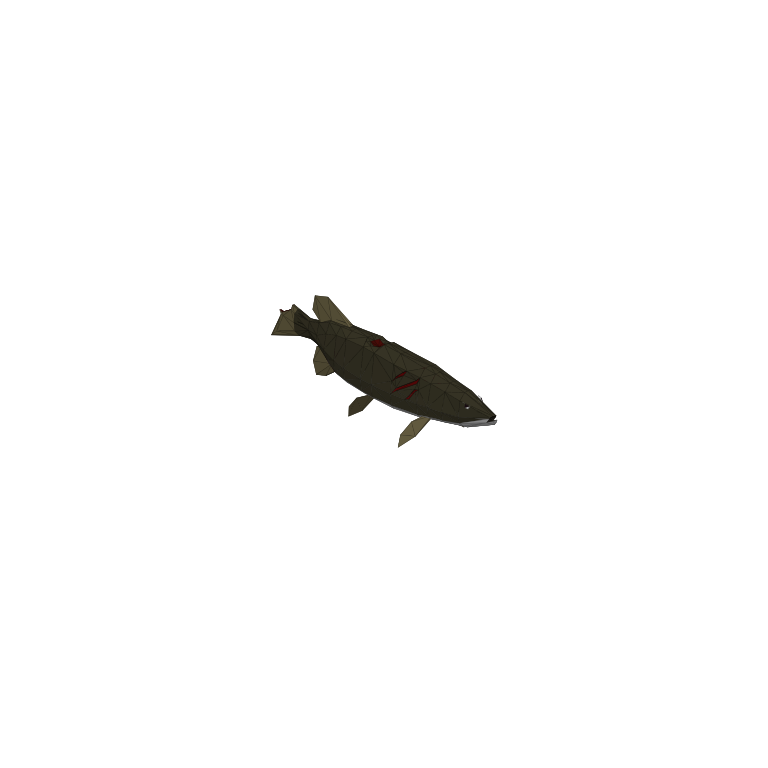
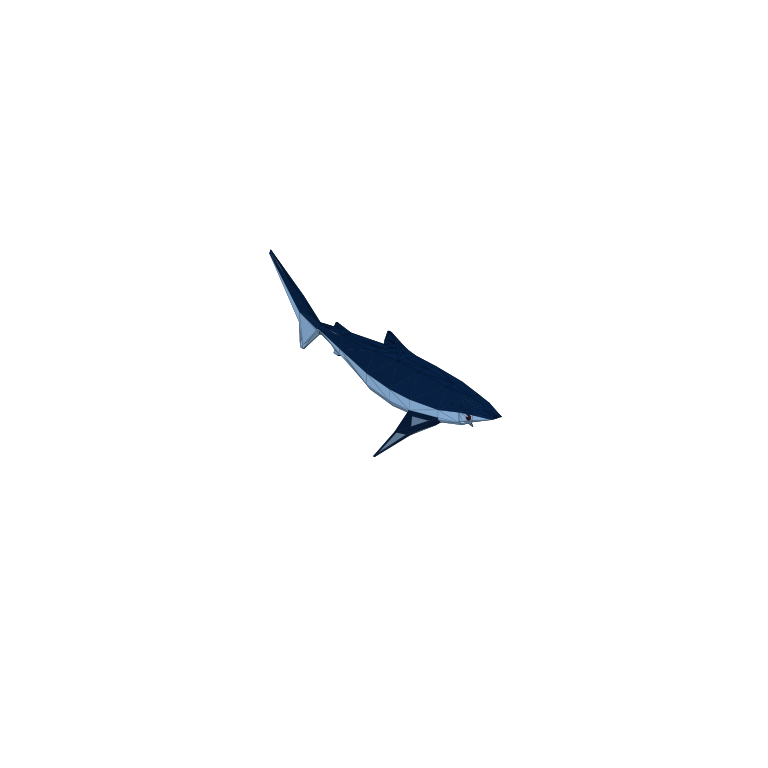
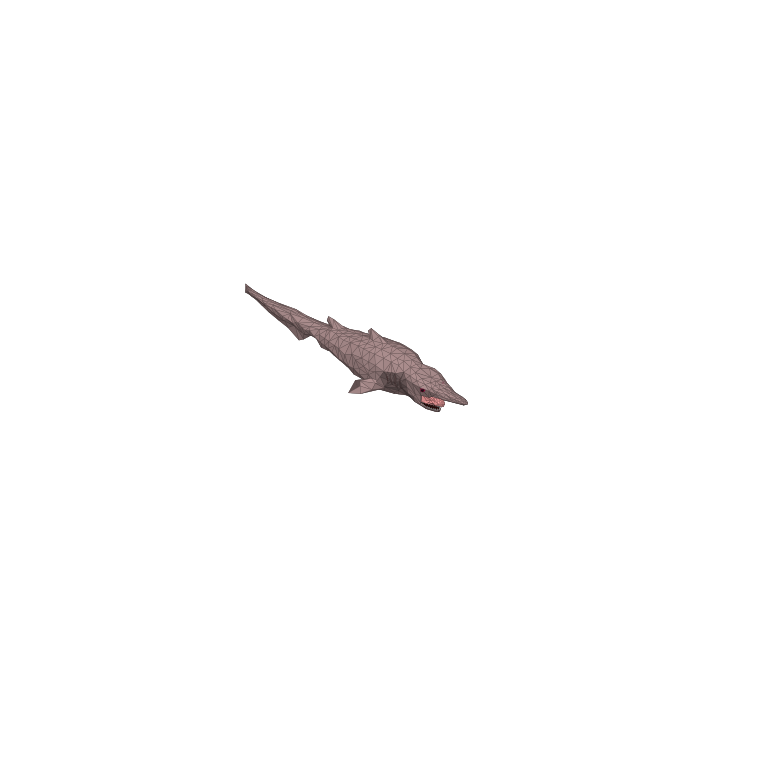
Sunfish and The Old Pike use the Forest boss-lure route. Blue Shark belongs to the Desert side route and provides the Grillmaster hand-in. Goblin Shark is a late-game collection target. A boss-lure purchase can take money away from the next required weapon or story objective, so decide whether this visit is for progression or cleanup.
- Sunfish: useful when working on the mini-boss eating objective.
- The Old Pike: a separate collection entry from the ordinary Pike.
- Blue Shark: preserve the body if you still need to start the grill.
- Goblin Shark: spend on its lure after protecting the budget for the finale.
Do the same four checks before every trigger
Check the trigger item, ammunition, healing and place for the quest result. In co-op, give one person responsibility for the result so that selling and cooking do not interrupt a hand-in. Choose a fighting area where you can recover the body after the encounter.
- Read the relevant NPC request before using unusual bait.
- Have a usable weapon and supplies ready before spending a special lure.
- Keep a path away from the creature rather than relying on uninterrupted damage.
- Revisit the NPC or next trigger after the fight; a kill alone is not every quest’s final step.
An encounter list is not a complete current bestiary
The eleven entries here describe the reviewed launch campaign and its side bosses. The developer’s Islet announcement later added a mini-boss, so eleven is not presented as the current game-wide total. Likewise, creature collection requires ordinary species as well as encounters listed here. Use the in-game collection state to identify what your save still needs.
Guide images
View 11 related images