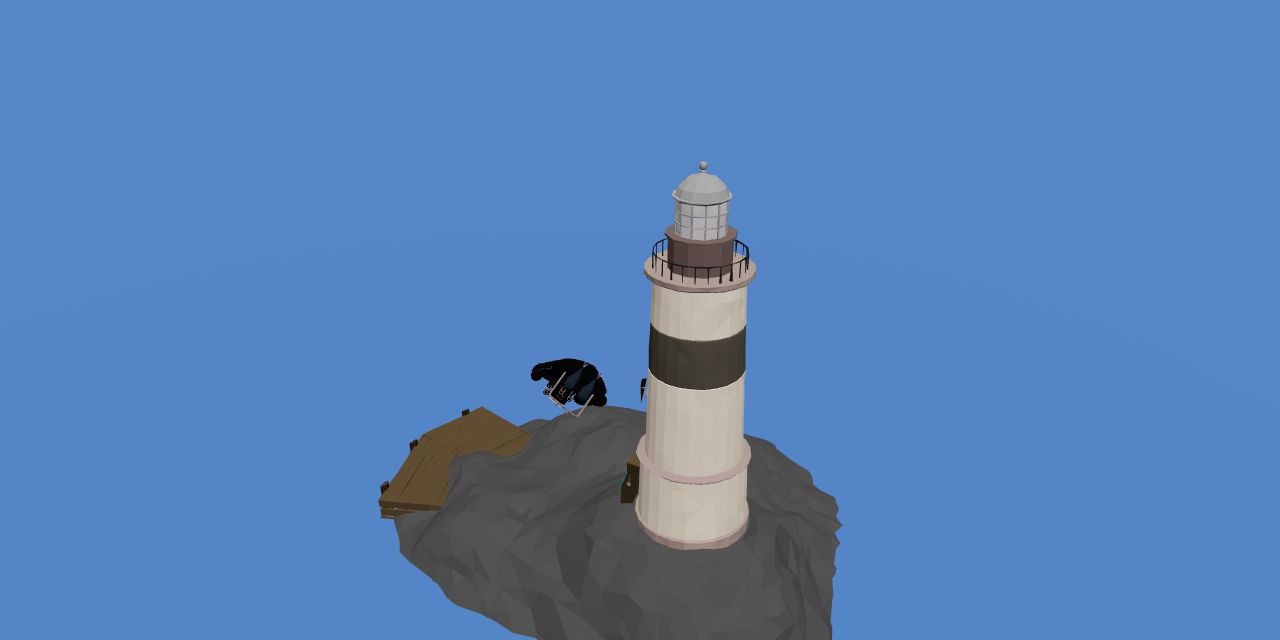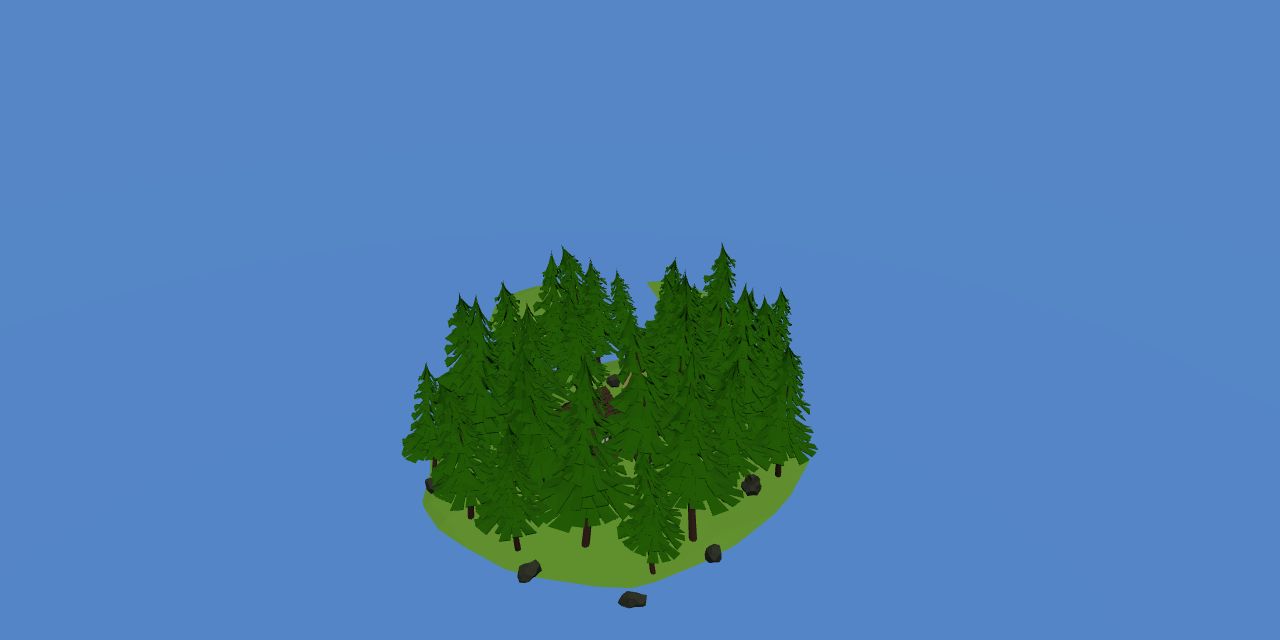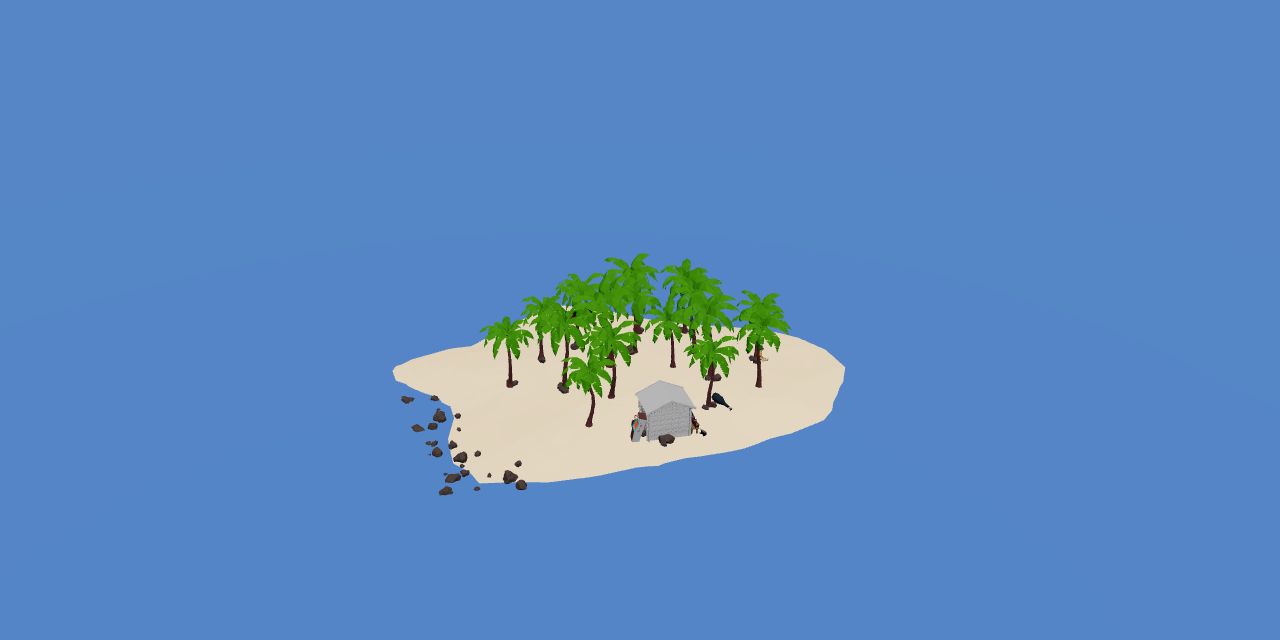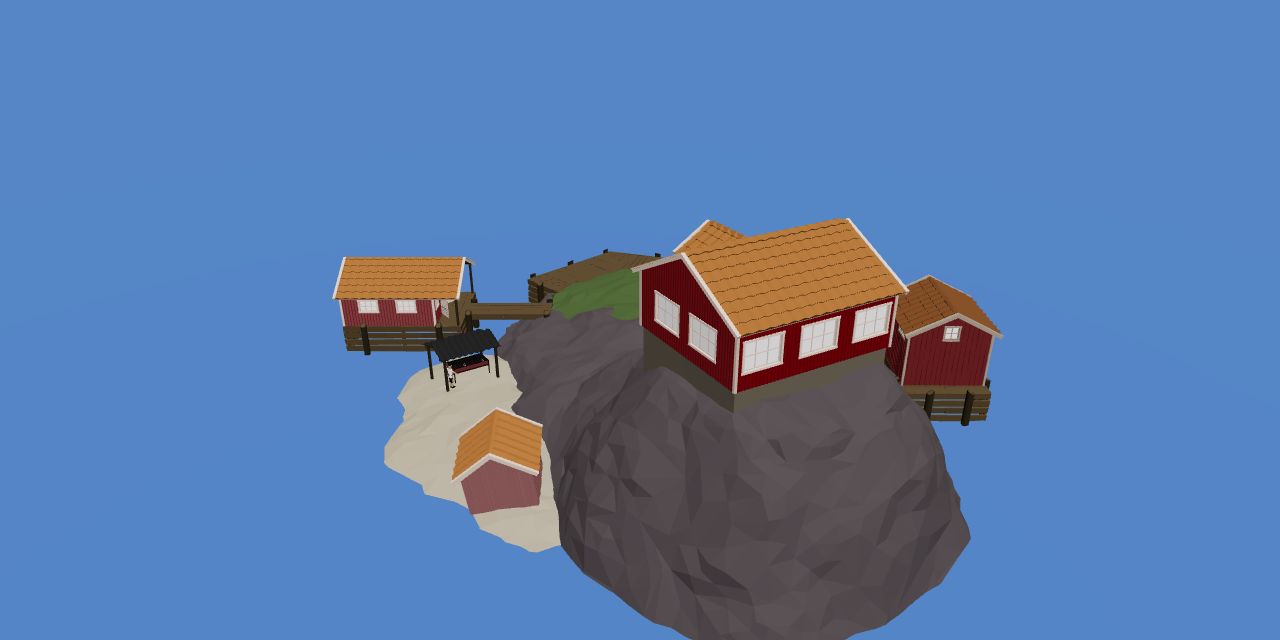
- Story stages
- Five islands
- Starting point
- Lighthouse
- Route tool
- Radar
Known route coverage: Patch 1.0.10. These guides organise the site’s reviewed game facts; they do not claim a fresh playthrough of every later patch. Follow your current quest dialogue if a requirement differs.
The route is a chain of exchanges
Each main island adds a new encounter and a reason to return to an NPC afterwards. The thing that opens the next journey is usually the completed exchange, so a defeated boss and an unlocked destination are different milestones. Keep the result of a story encounter until the relevant character has accepted it.
Use the island list as a departure check. If the next destination is missing from the Radar, revisit the current island’s hand-in before spending money on an optional boss lure. A catch that looks valuable at the shop may still be needed to advance the story.
| Stage | Protect this item | Next travel check |
|---|---|---|
| Lighthouse | Spider Crab shell | Boat Keys obtained; Radar bought separately |
| Forest Island | Giant Piranha trophy | Desert route revealed |
| Desert Island | Pufferfish fin | Rocks route revealed |
| Rocks Island | Tuna body, then Albatross head | Volcano route revealed |
| Volcano Island | Bowhead Whale body | Final encounter and ending transport completed |
Make room for the next objective
Before sailing, check the objective, the bait that starts it, and the item you must carry away. Put ammunition and healing within reach before using a unique trigger. In co-op, tell the group which physical object belongs to the quest so another player does not sell or cook it.
Leave a small reserve after buying a new lure. Later islands charge more for their encounter setup, and a purchase is only useful if the crew can finish the resulting fight. Optional collection attempts are easier to plan after the next story route is secure.
- Secure loose trophies before sorting ordinary income catches.
- Read the hand-in dialogue again when a destination remains locked.
- Check the Radar after the exchange, rather than immediately after the kill.
Use the map to track tasks
The interactive map is a route diagram with a checklist for each island. It describes the order of actions rather than real terrain, sailing distance or exact item coordinates. Select the island you are working on and mark completed stages as you go; the checkmarks are stored in this browser.
For one continuous run, use the full walkthrough. For a missing hand-in, open the individual island or quest guide and compare its completion check with your current inventory.
Guide images
View 5 related images